Zelda Fanart
Animation-Ready Character


~Final Project~
This character was my final school project. I wanted to create an animation-ready, semi-realistic character and because I'm a massive Zelda nerd,
I chose to do a Zelda fanart.
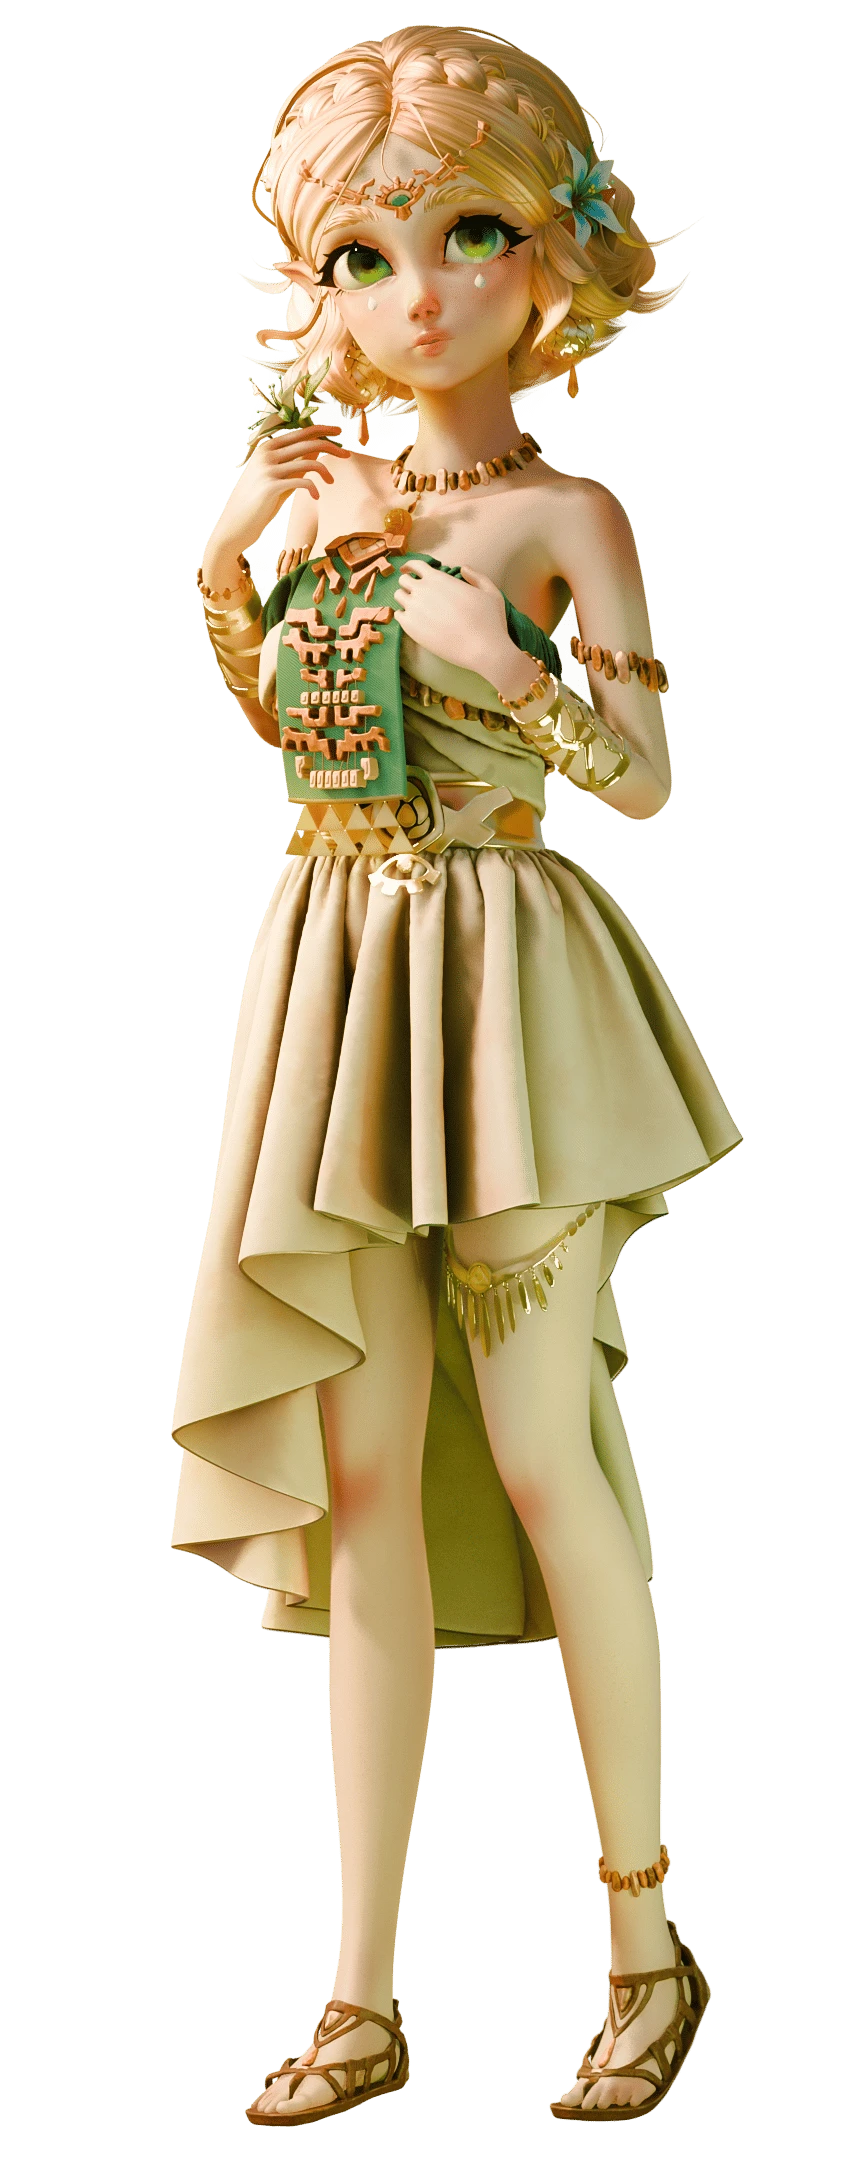
I loved her outfit in The Legend of Zelda: Tears of the Kingdom so I wanted to redesign it a little and mix and match more parts of her
other outfits into it.
I really enjoyed this project and I put everything I could into it. I'm really pleased with the result, although we only had six weeks
to complete it.
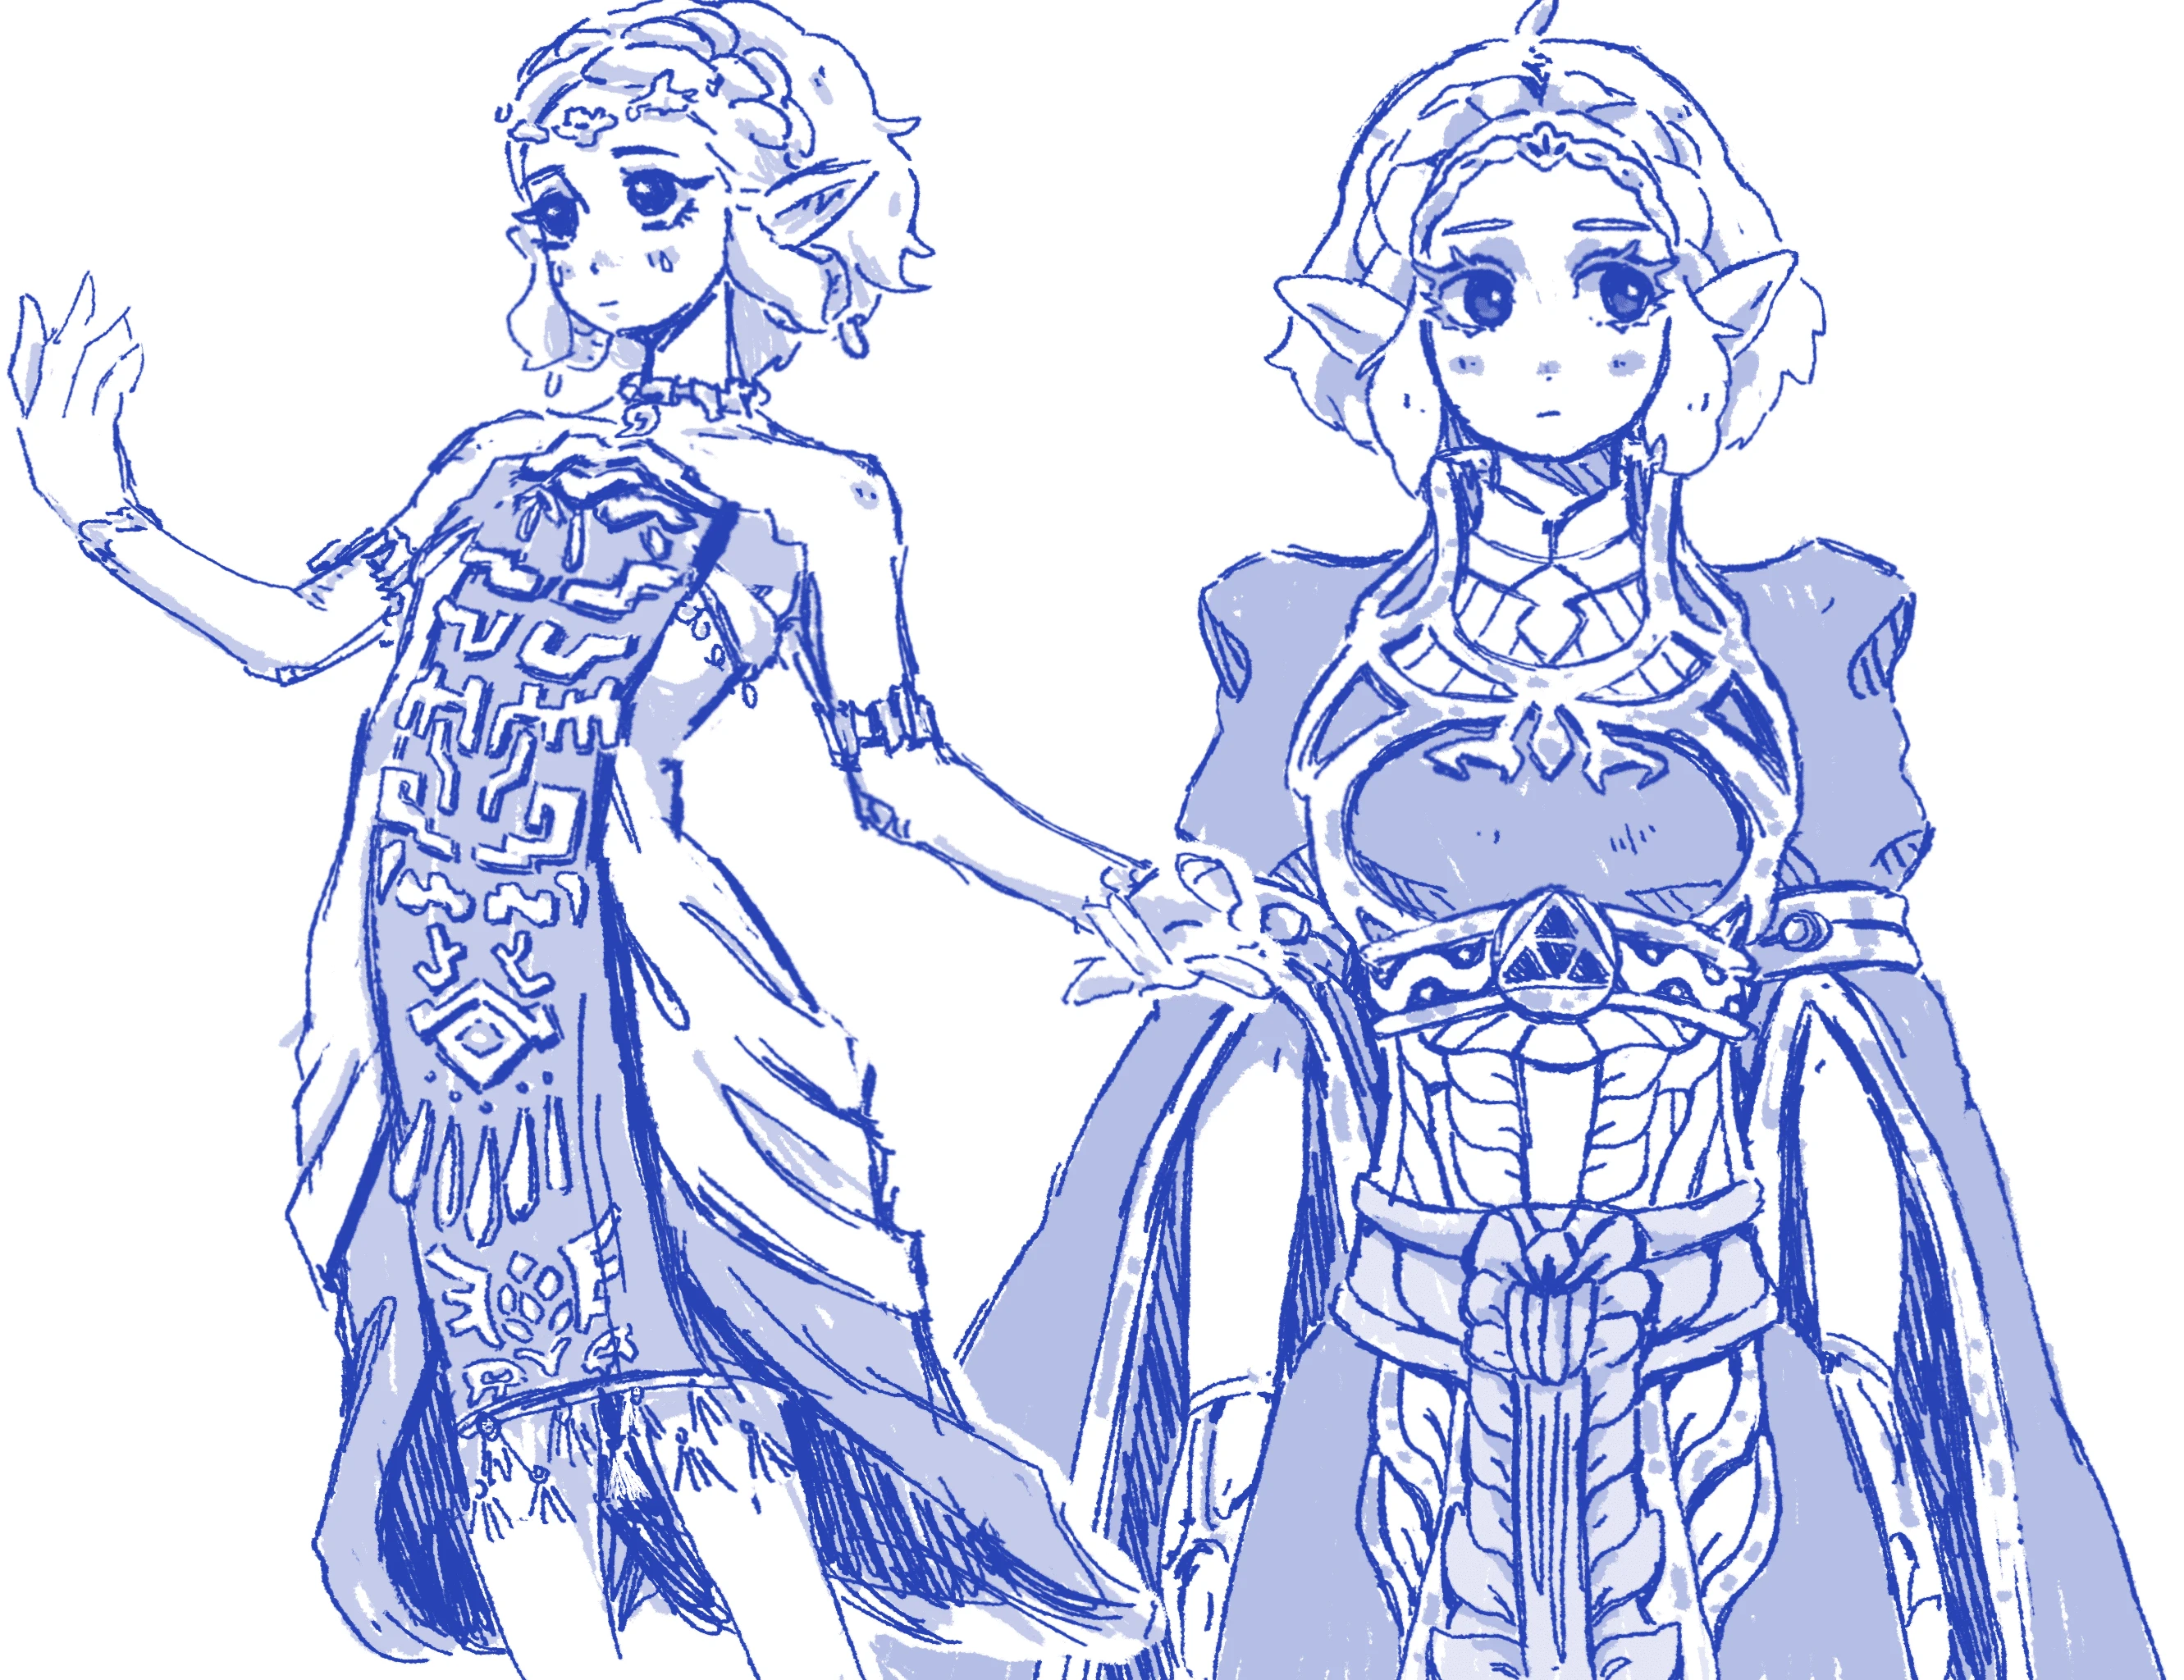
>>Design Process
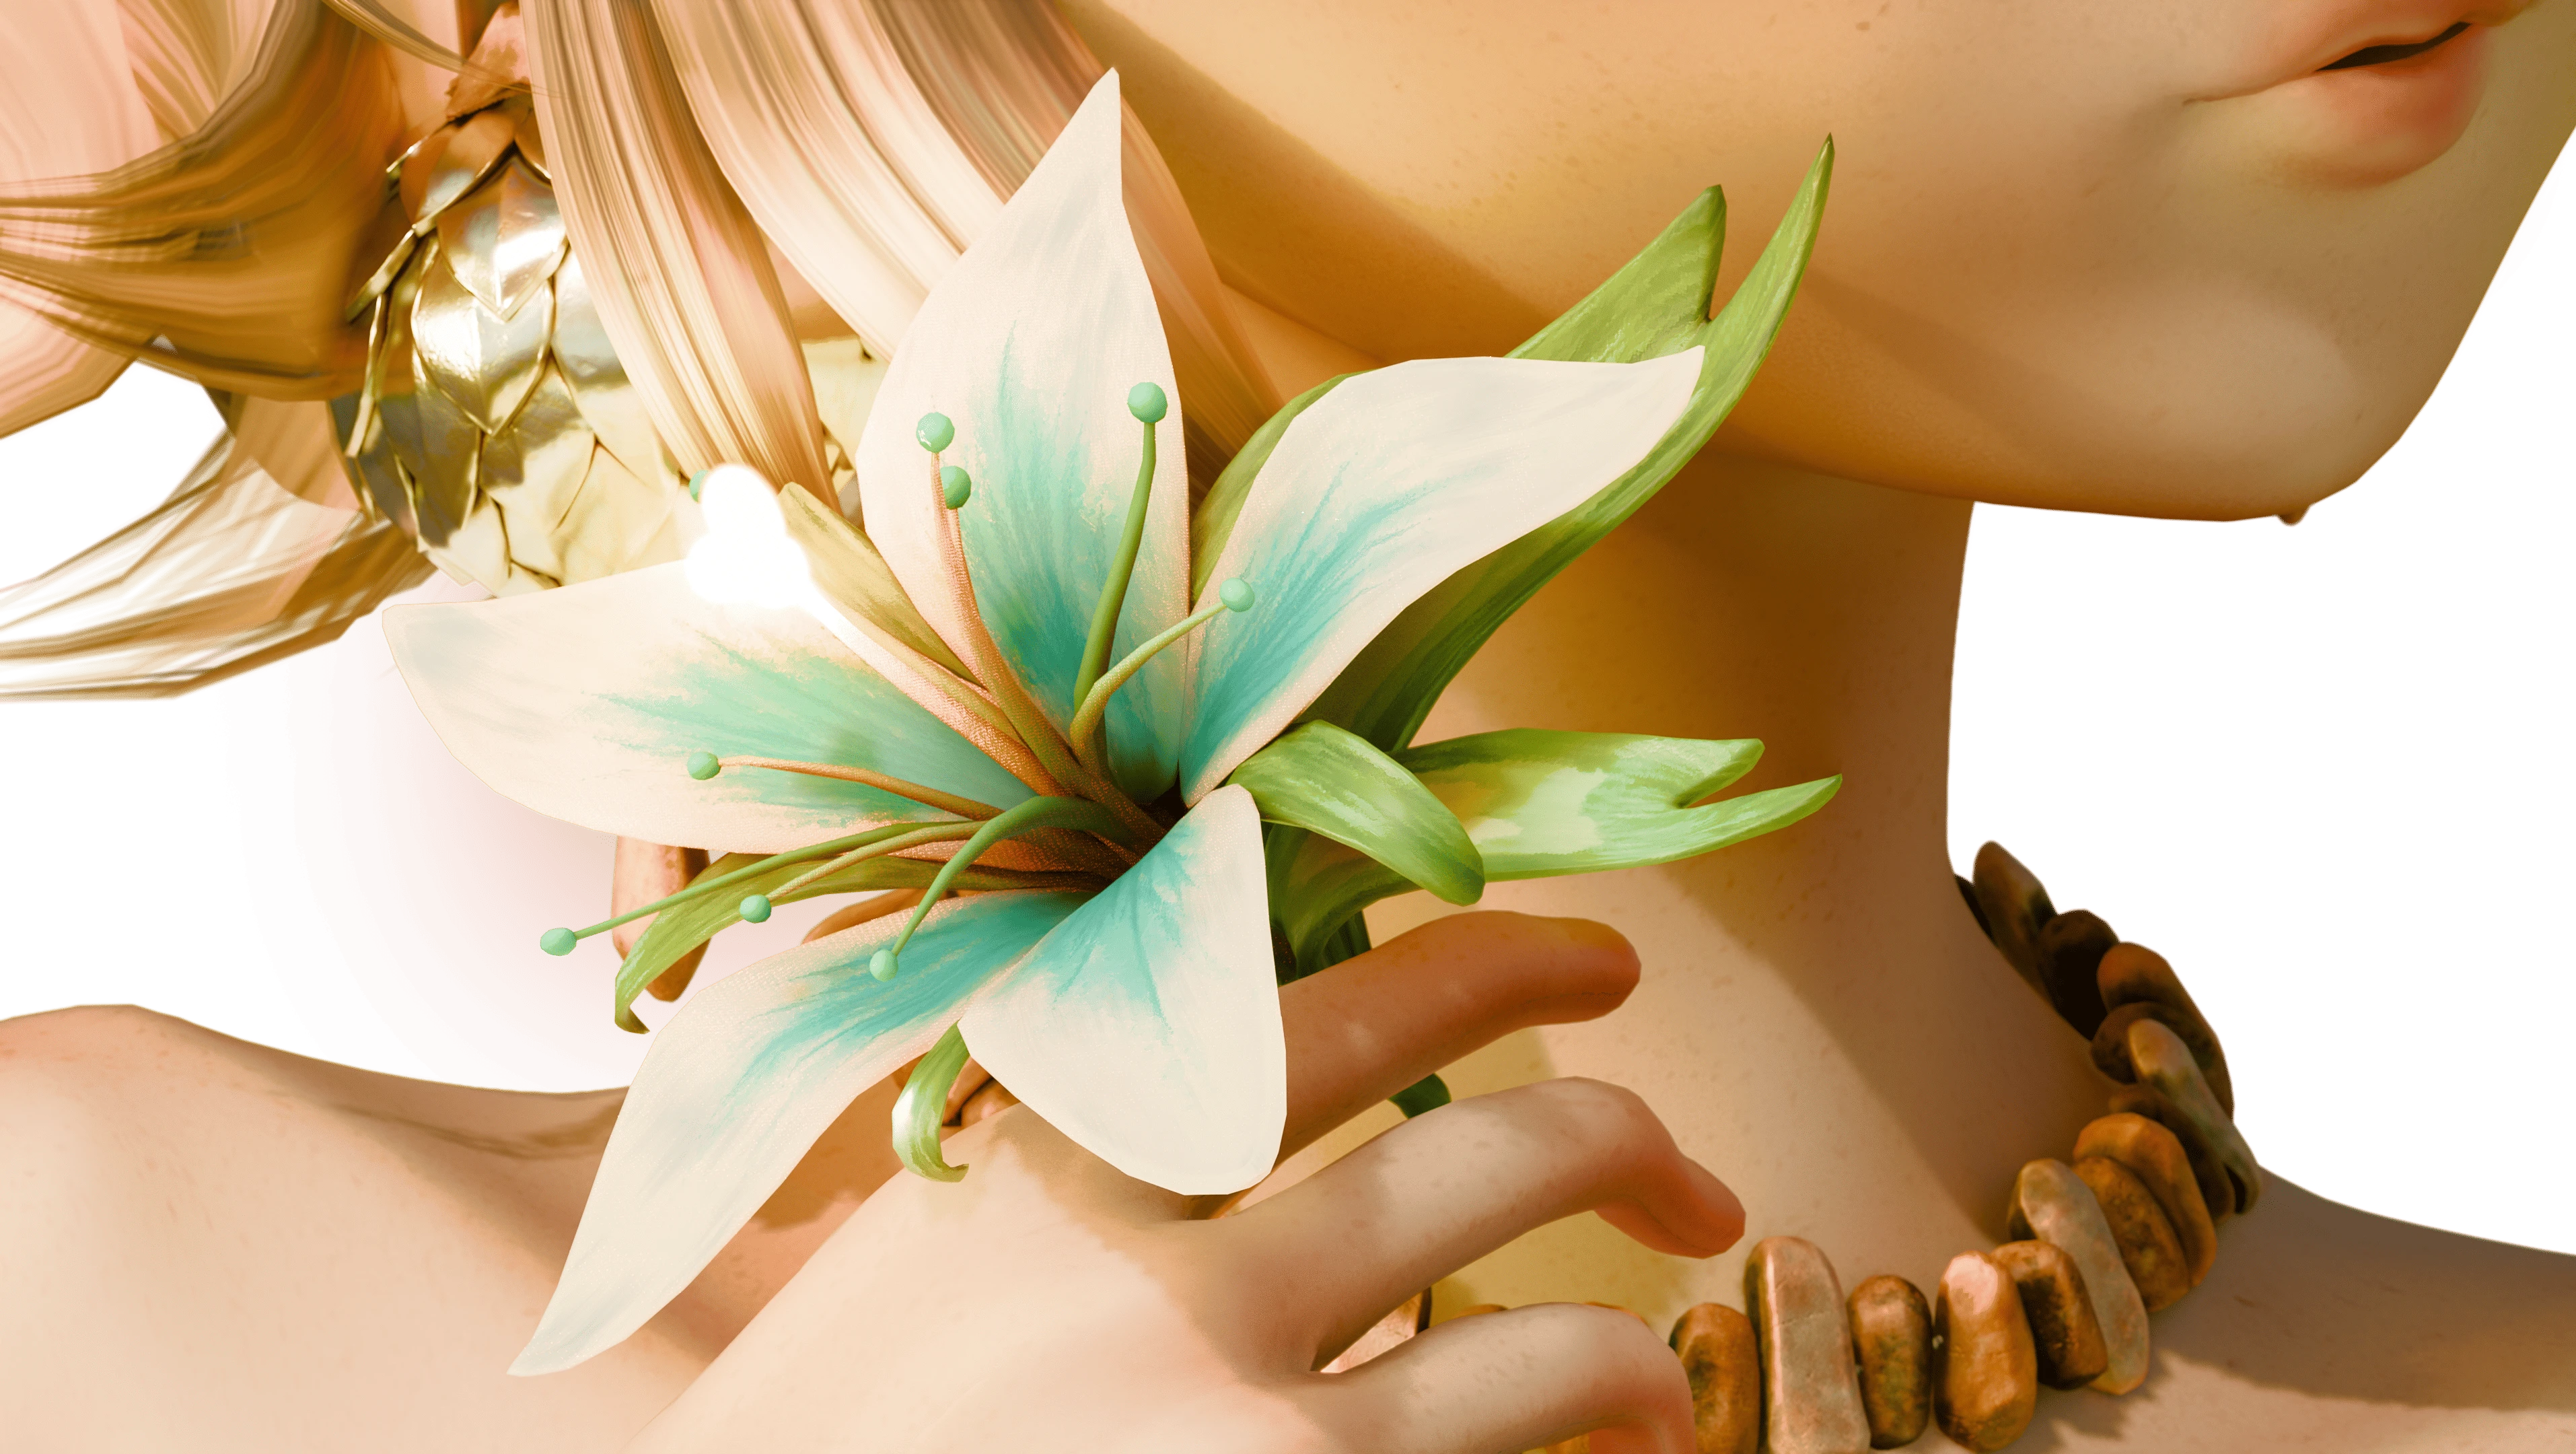
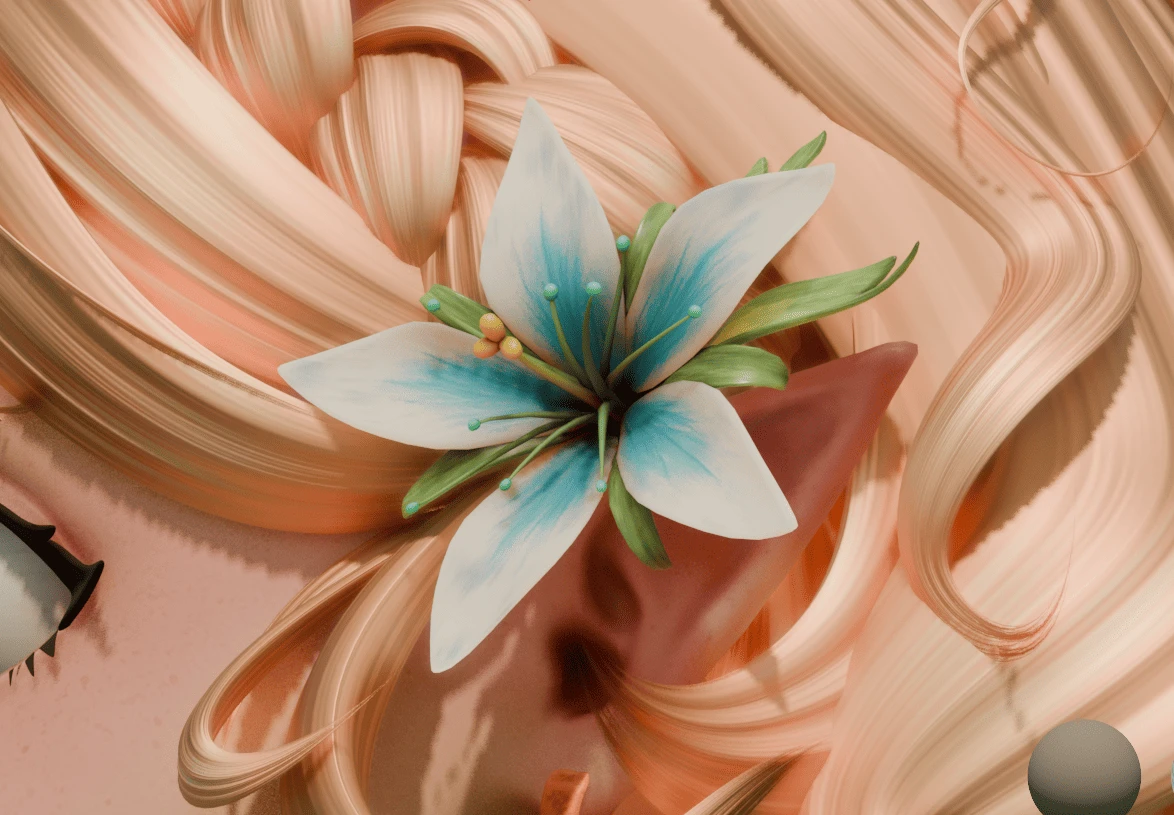
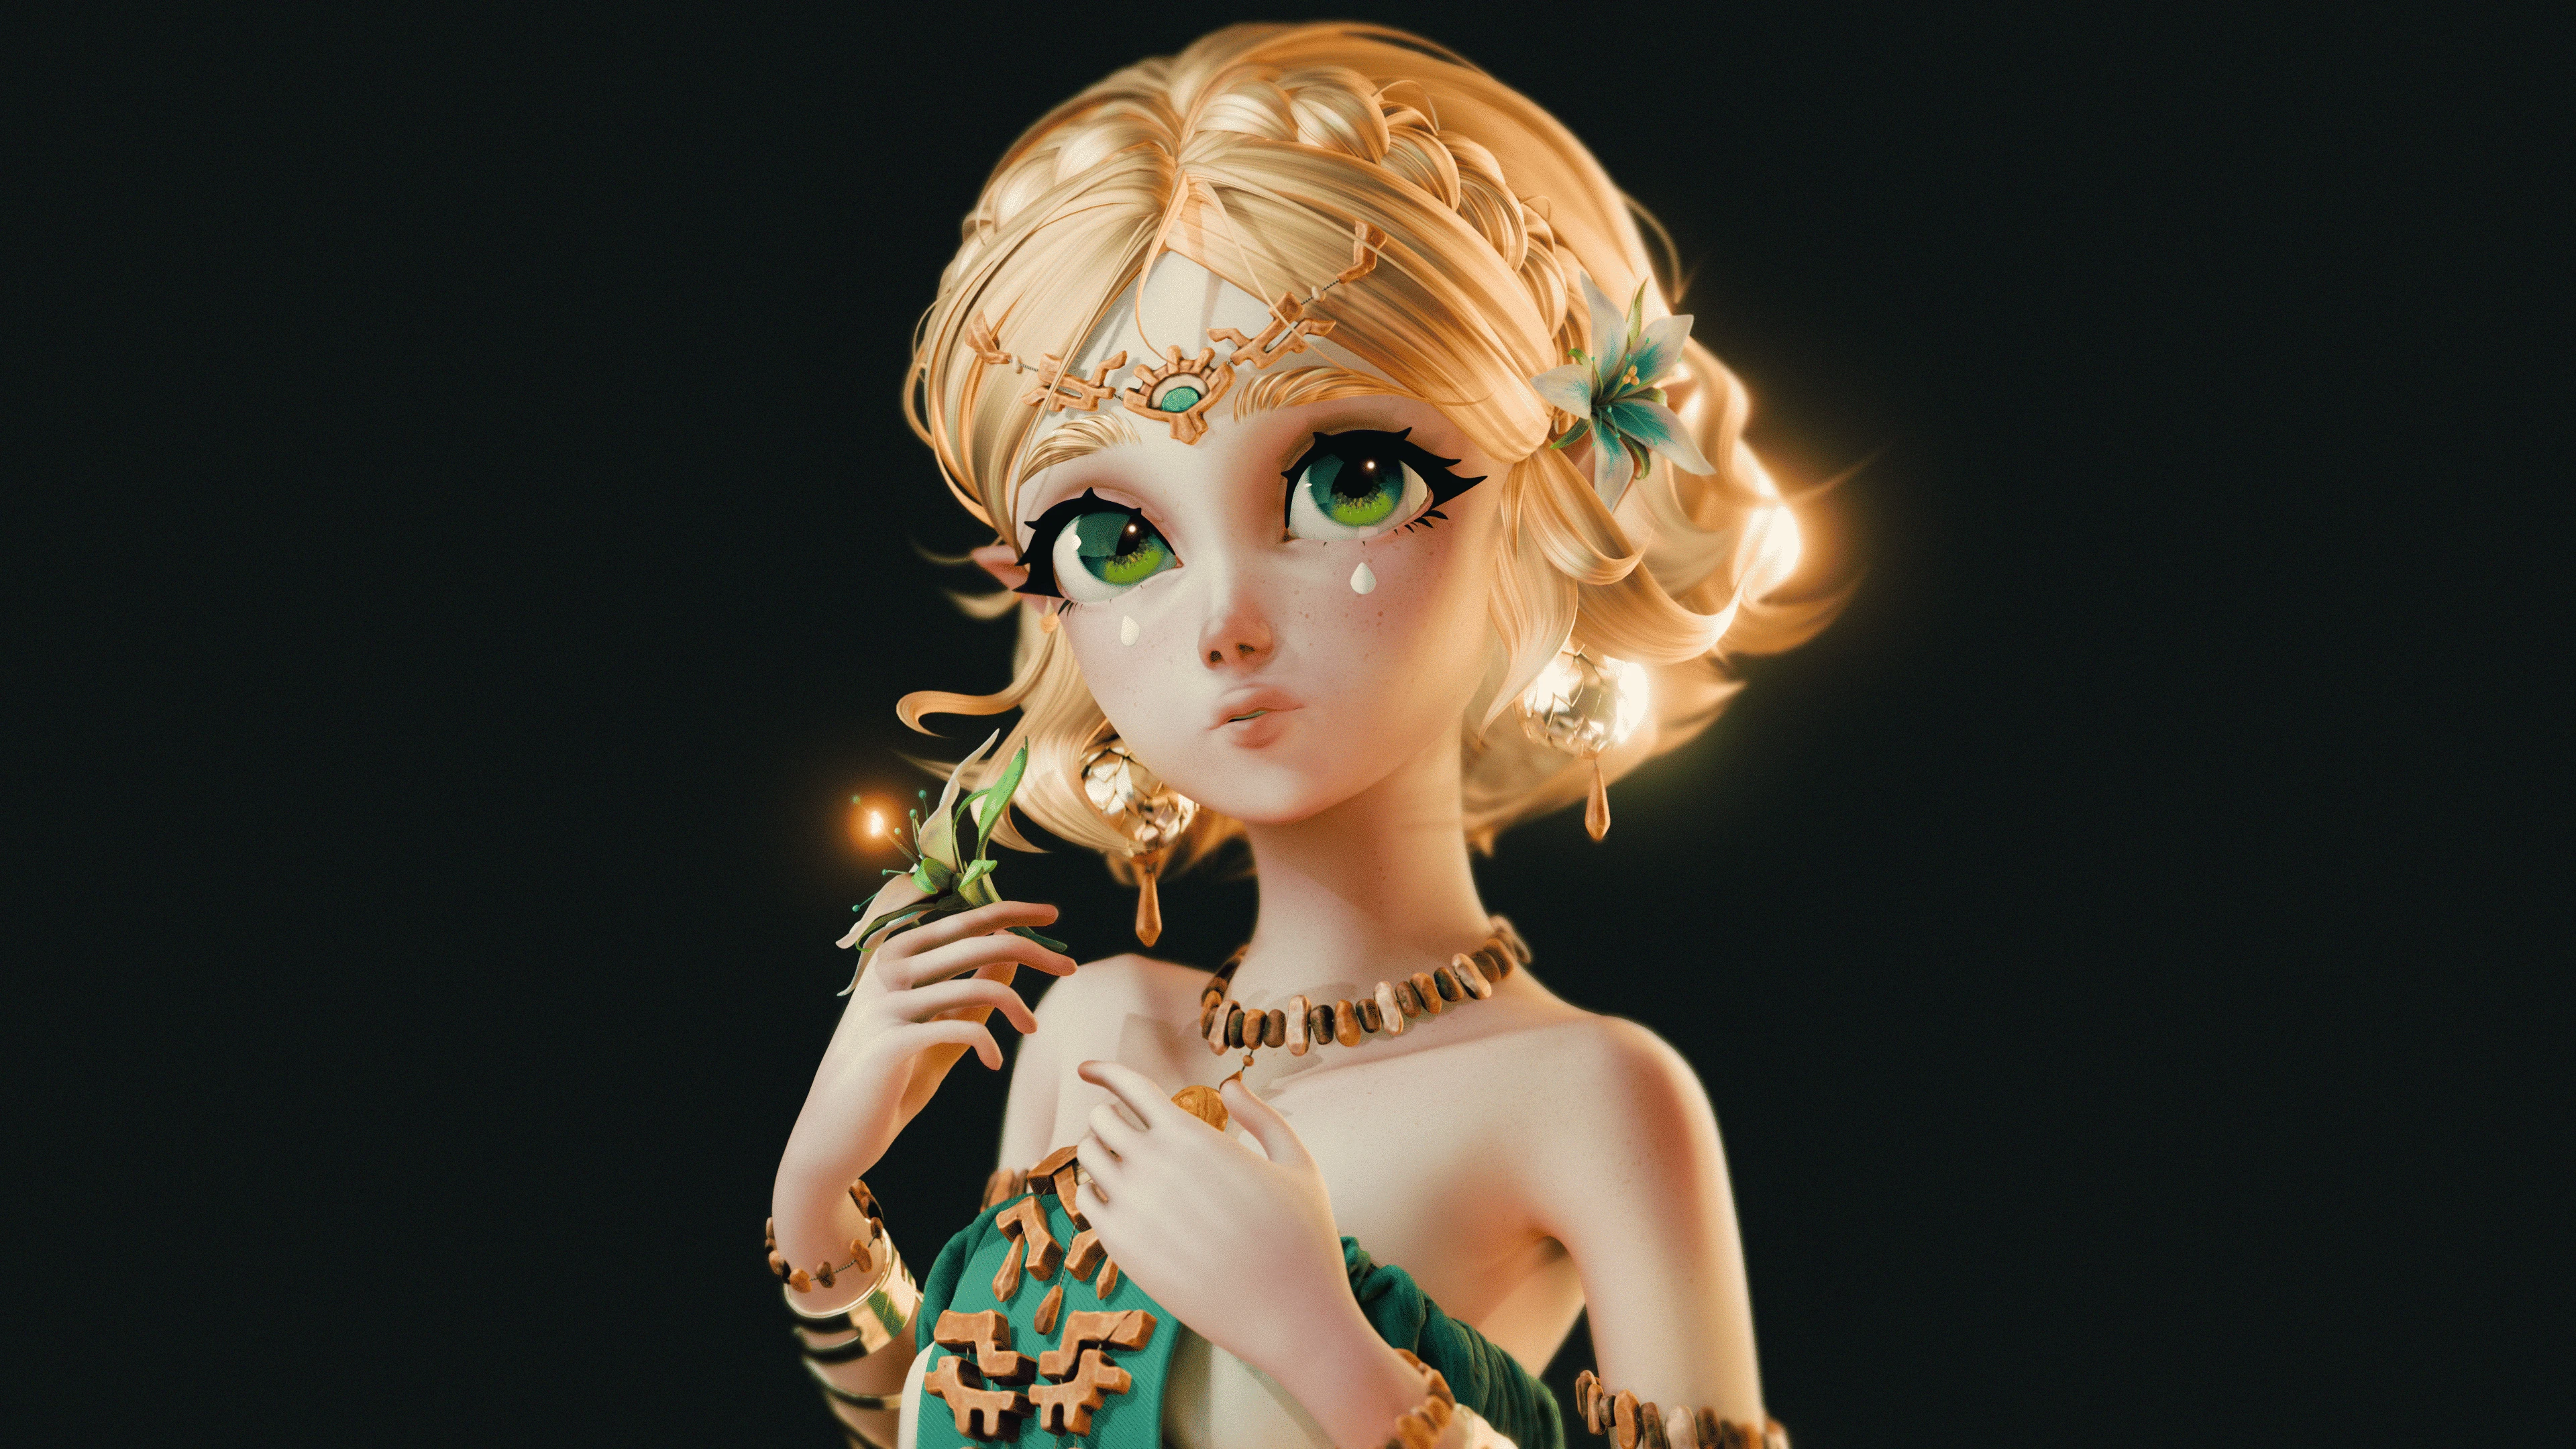
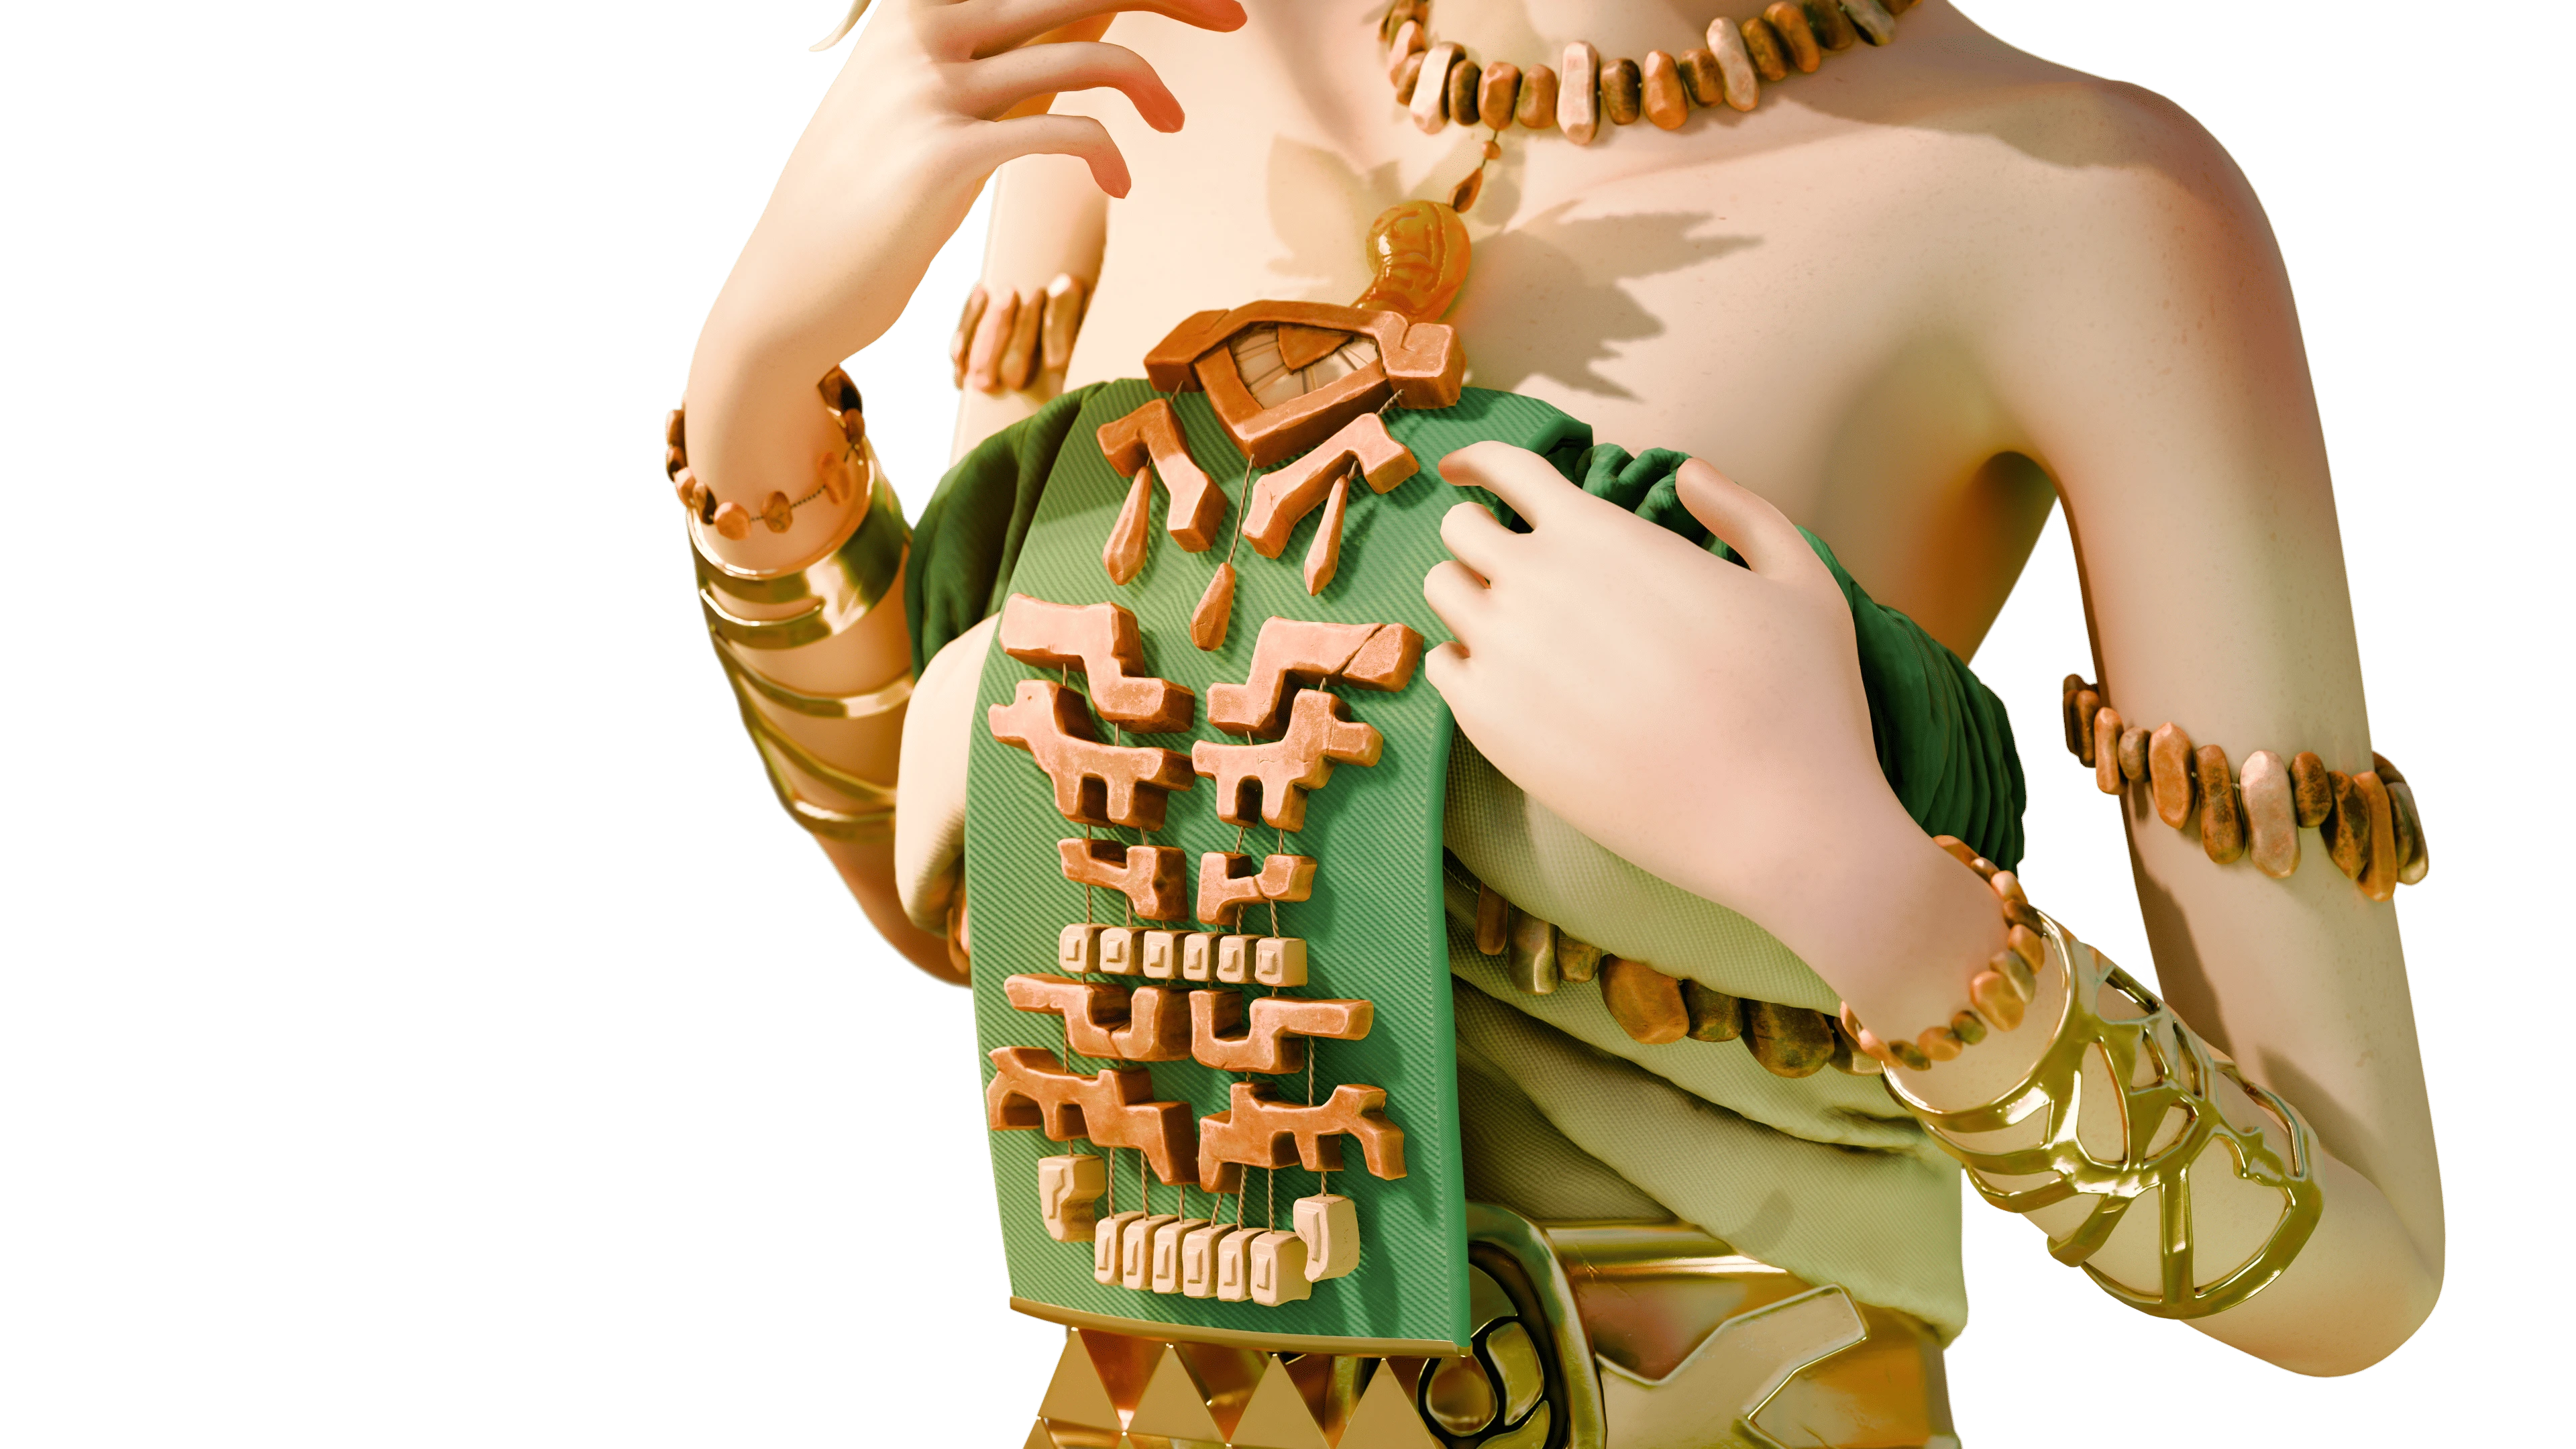
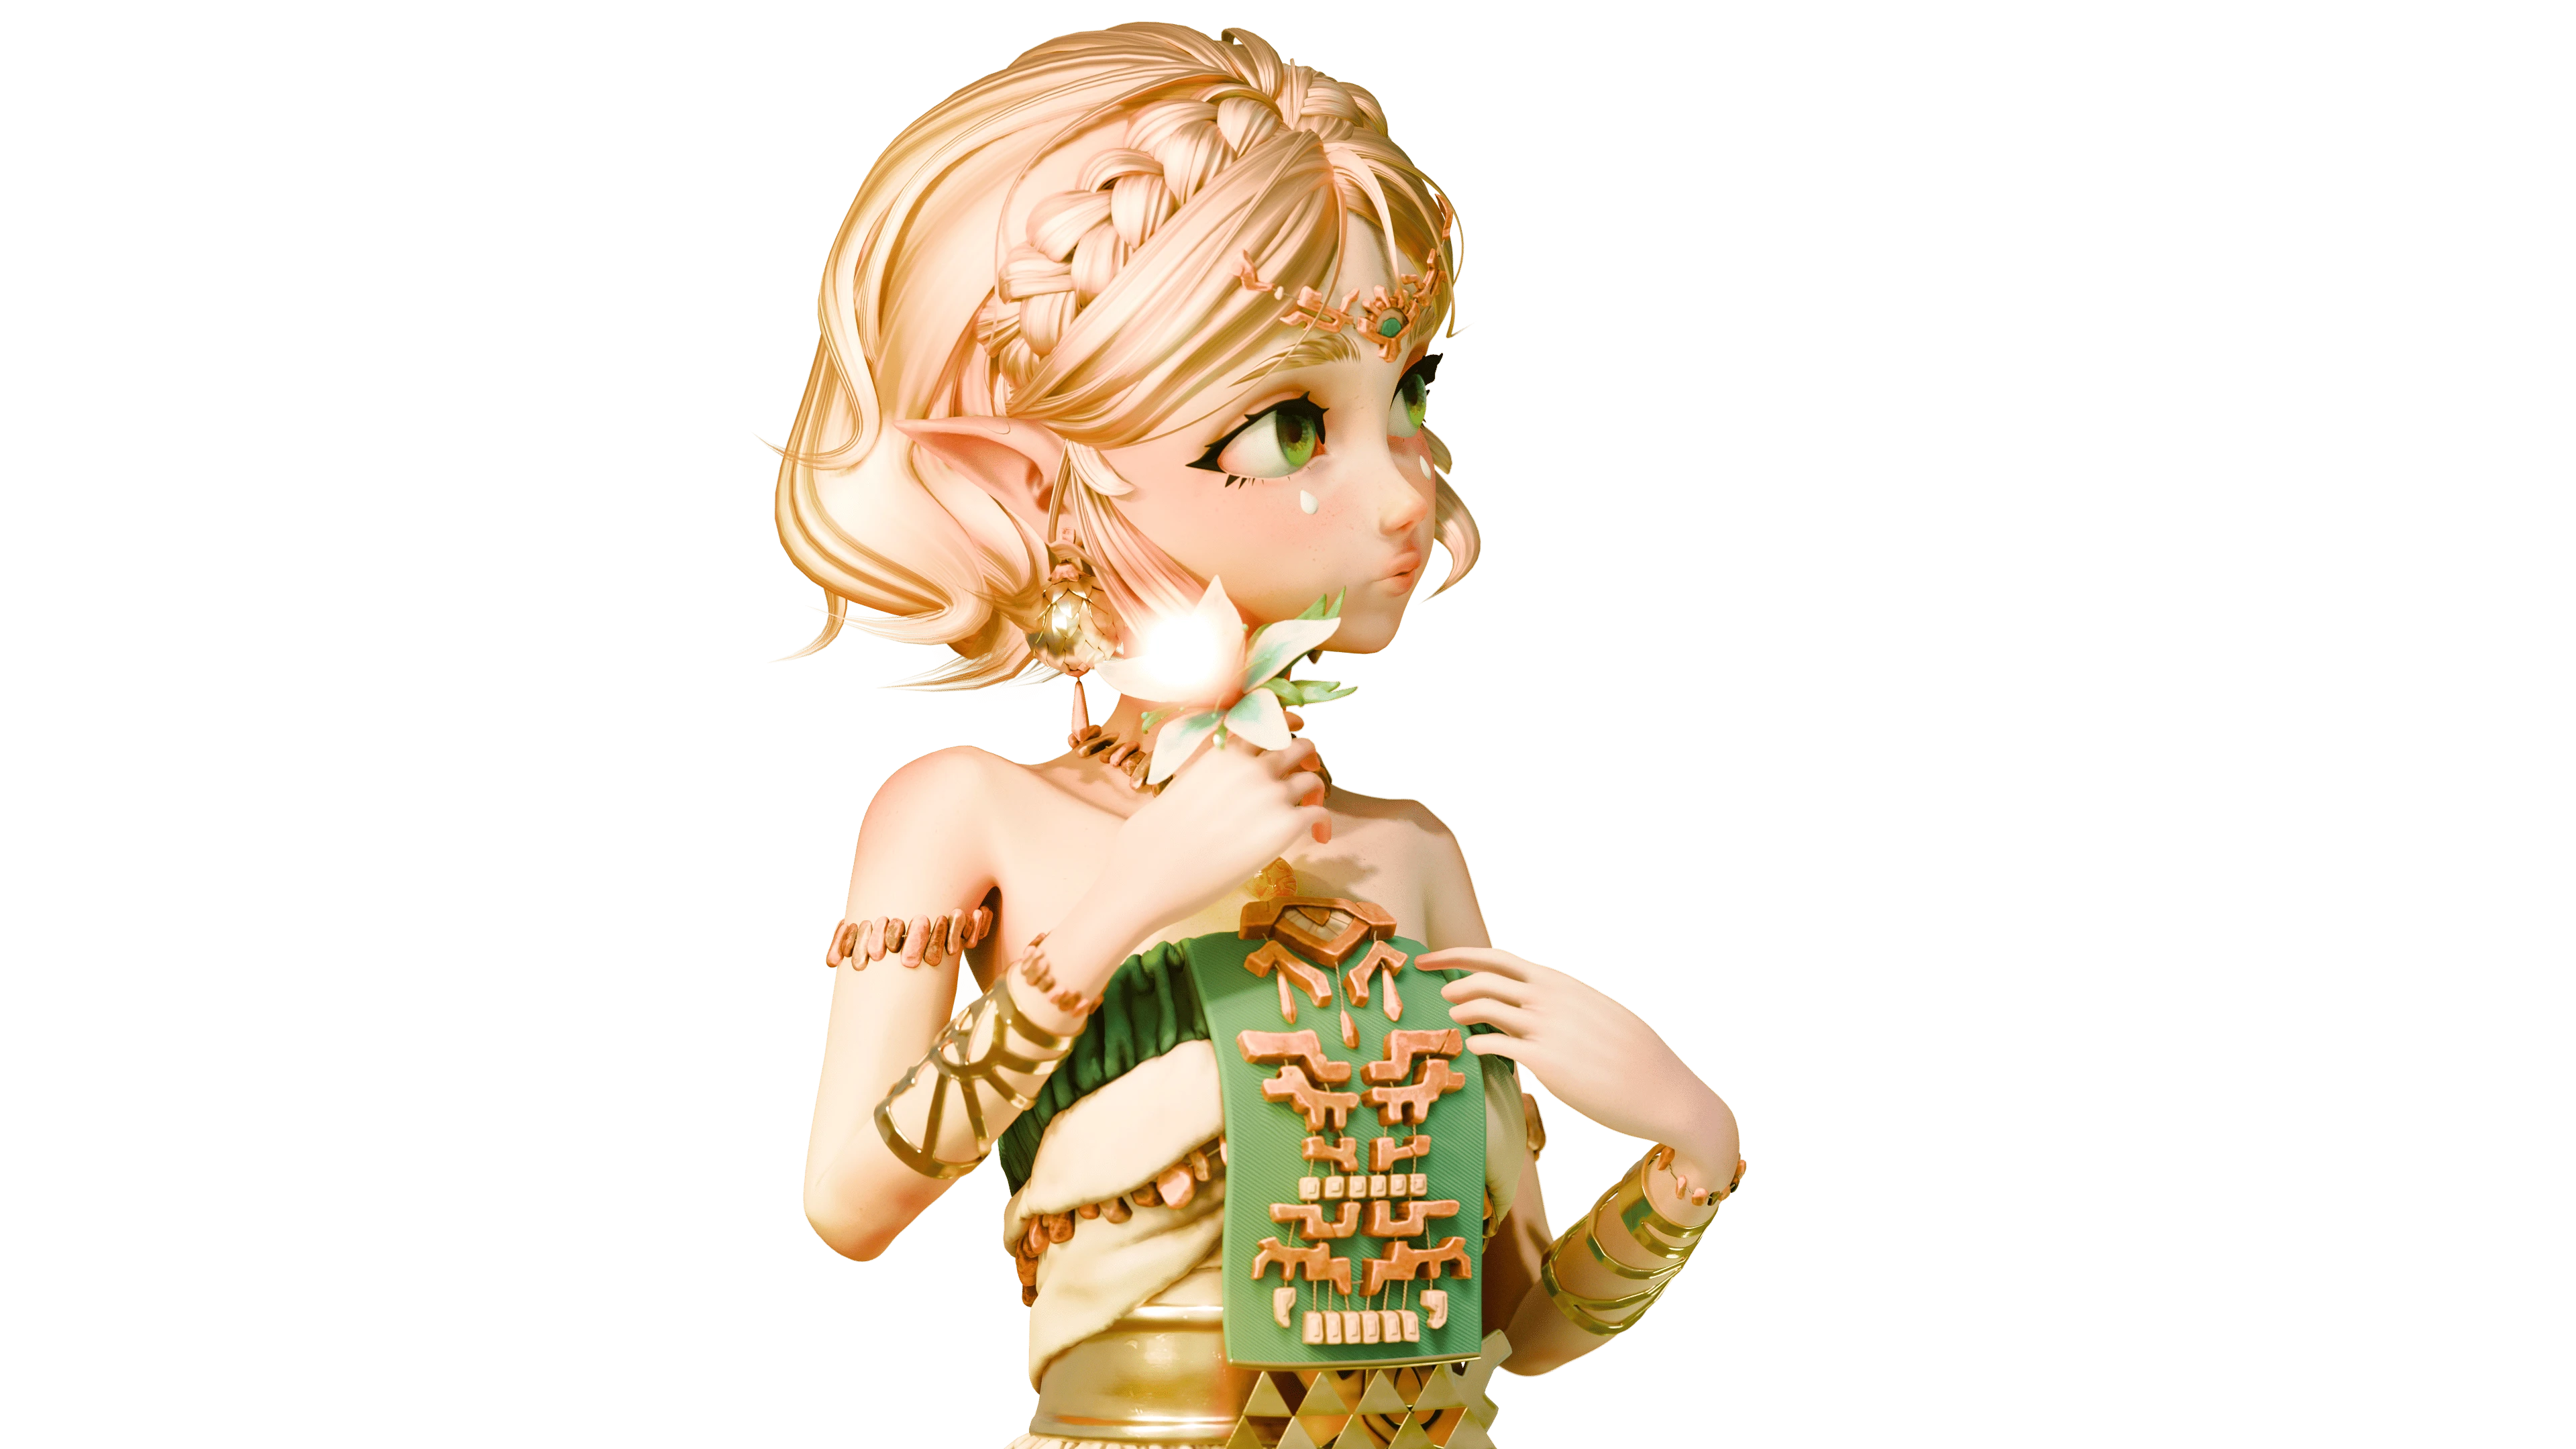
I decided on the one with an asymmetric dress and many other asymmetricly distributed acessoires. With this asymmetry I wanted to symbolize her indecisiveness and inner conflict in the story. I also wanted to make her outfit feel more personal and incoorporate accessoires including the triforce and other signs of her royalty, as well as her favorite flower, the silent princess. The leaves behind her ear are reminiscent of the ear feathers owls have, pointing to her wisdom. I wanted to pay attention to not crowd her outfit too much. The focus should still be on her, therefore some things were left out in the final design, which was also unfortunately a little due to a lack of time.


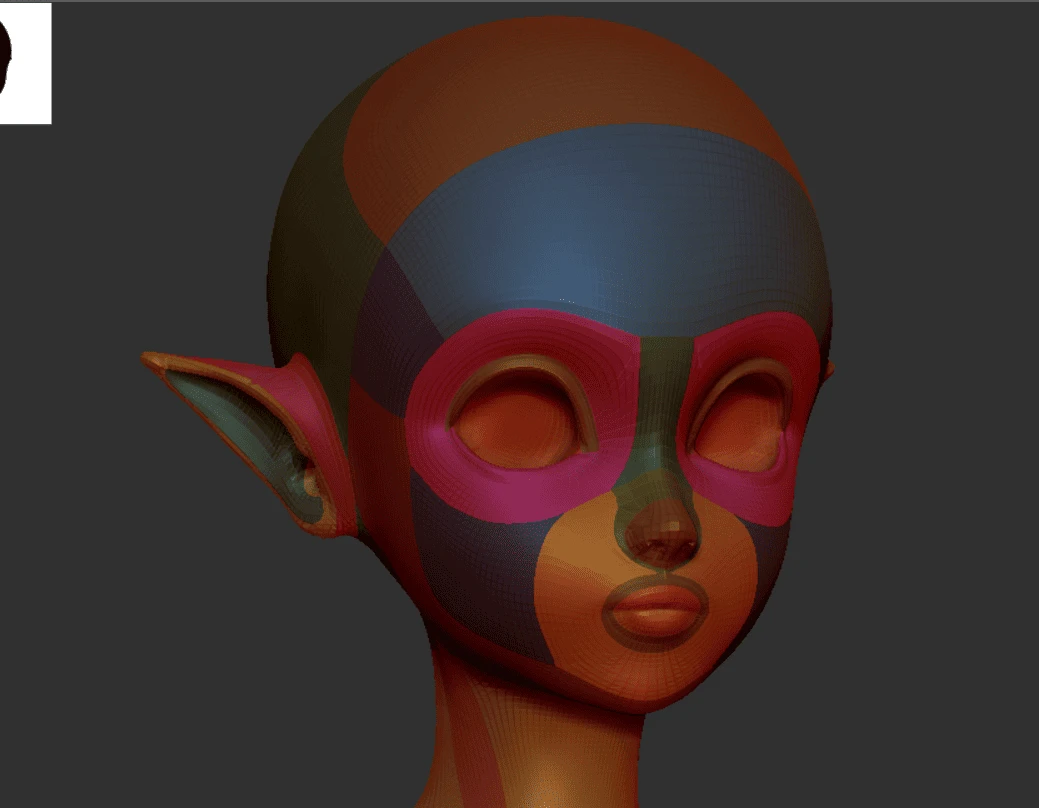
Using Polygroups, I was able to control the edgeflow of her topology. When I was ready with my Highpoly sculpt, I ZRemeshed Zelda down to a lower polycount and projected the details of my Highpoly model onto the model with the lower polycount.
To preserve my sculpted details, I baked everything in Substance Painter and also got to texturing.
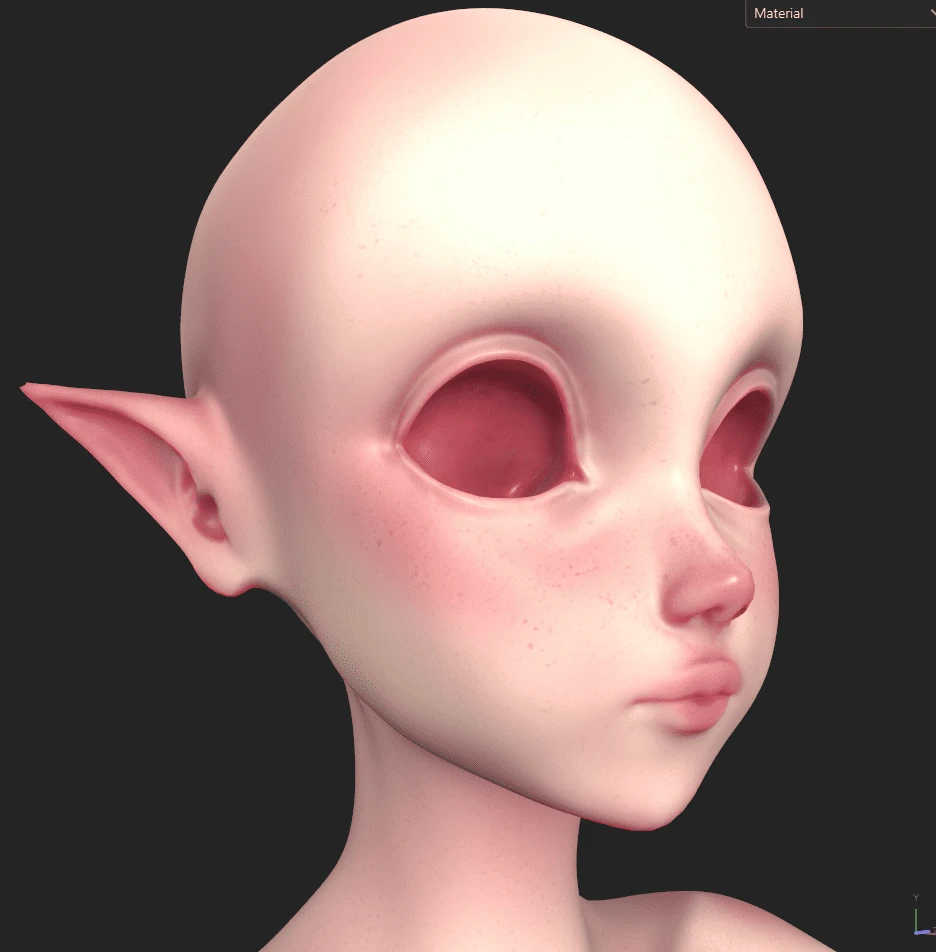
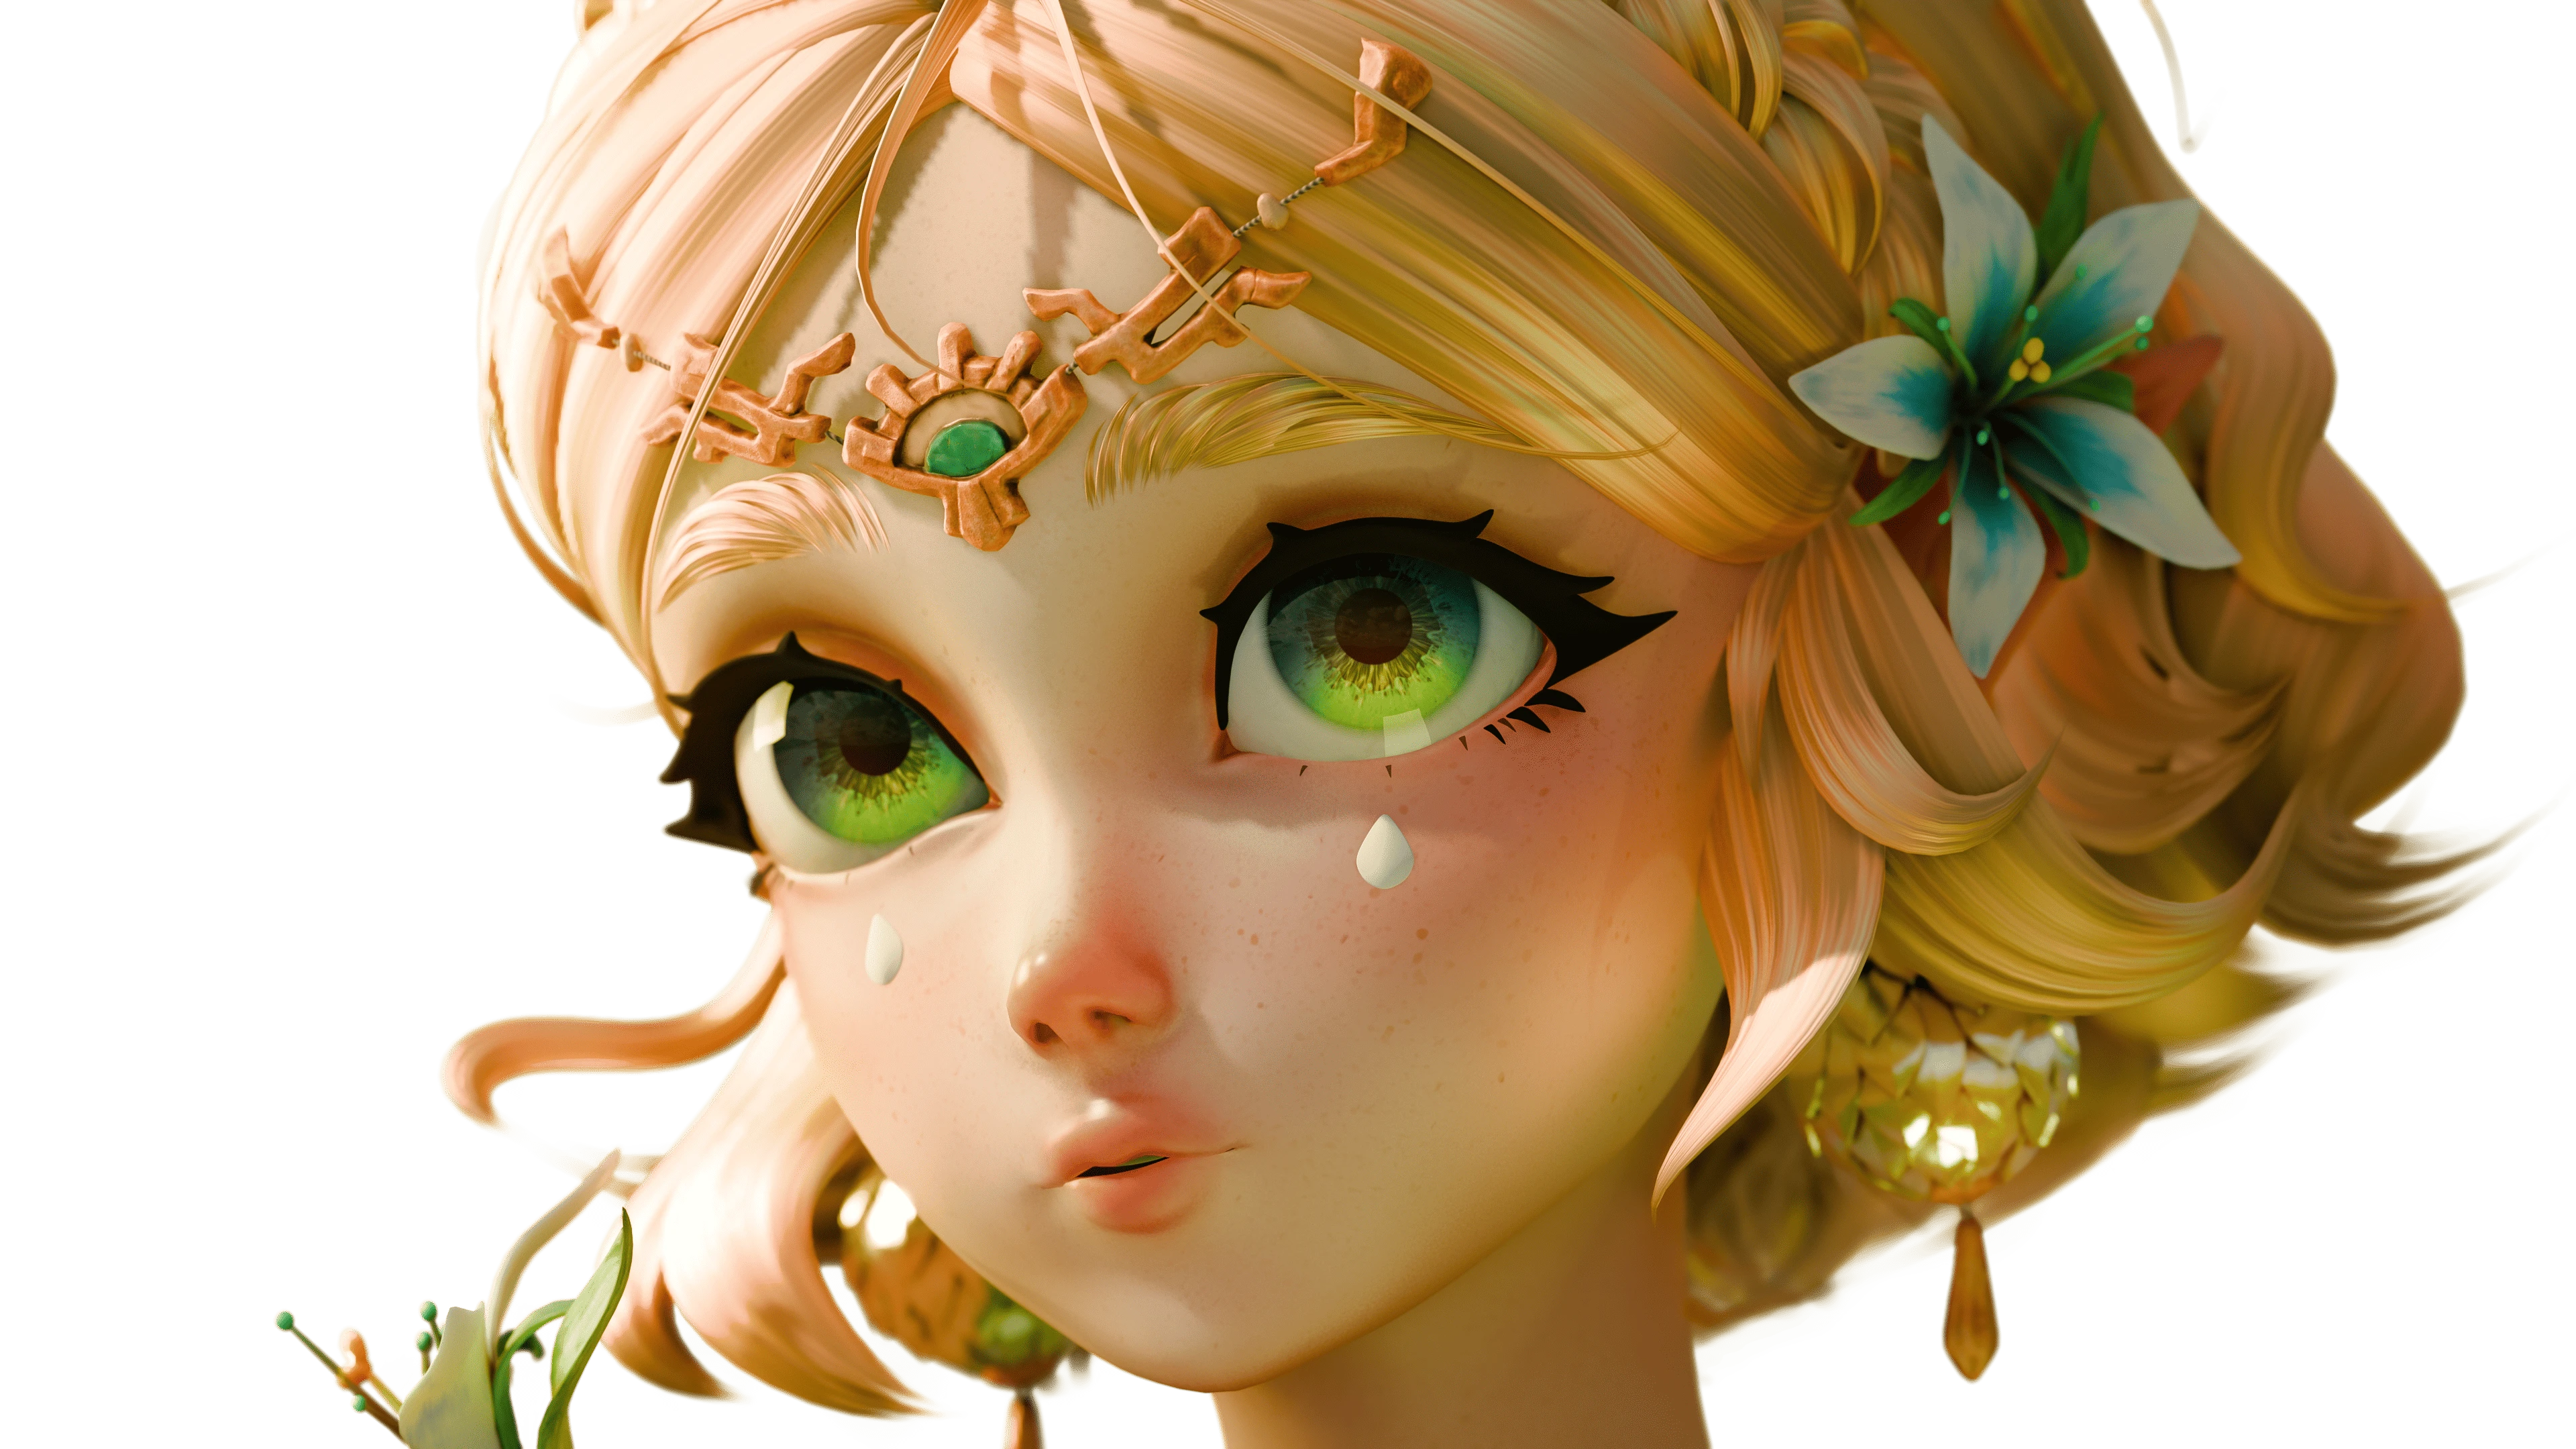
After that, I laid down a layer of skin which I masked out on areas where I wanted the undertones to come through more, so the cheeks, nose, undereyes, lips and such.
Then I also layered three types of freckles on top of that. Following the big, medium, small rule of thumb, I first made a base layer covering the largest surface, but also being the most transparent with many tiny freckles. On top is a layer with secondary freckles, which are a little bigger, darker but fewer than the first ones. Following those I put down the final layer of biggest and darkest but also least amount of tertiary freckles.
I always made a fill layer and masked them in and out by hand where I saw fit.
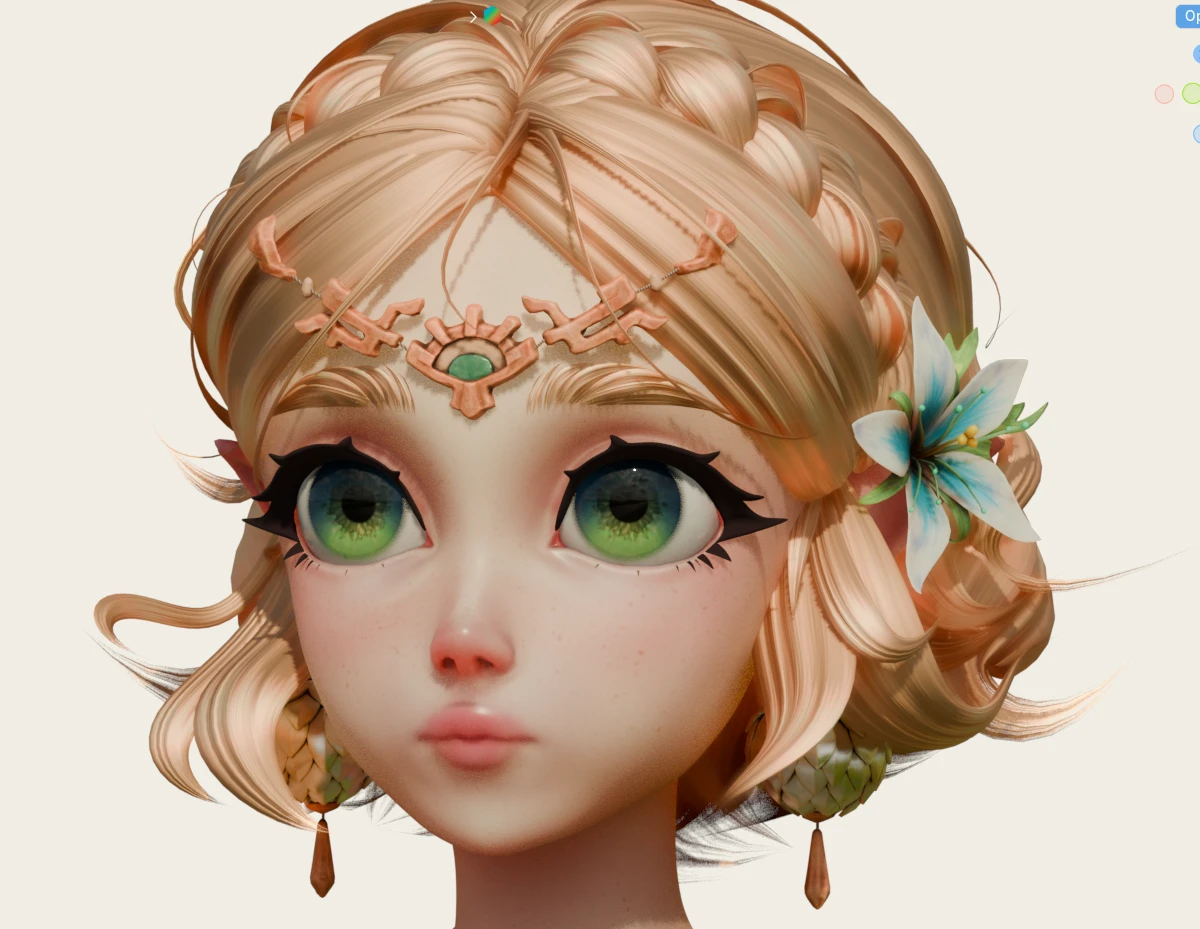
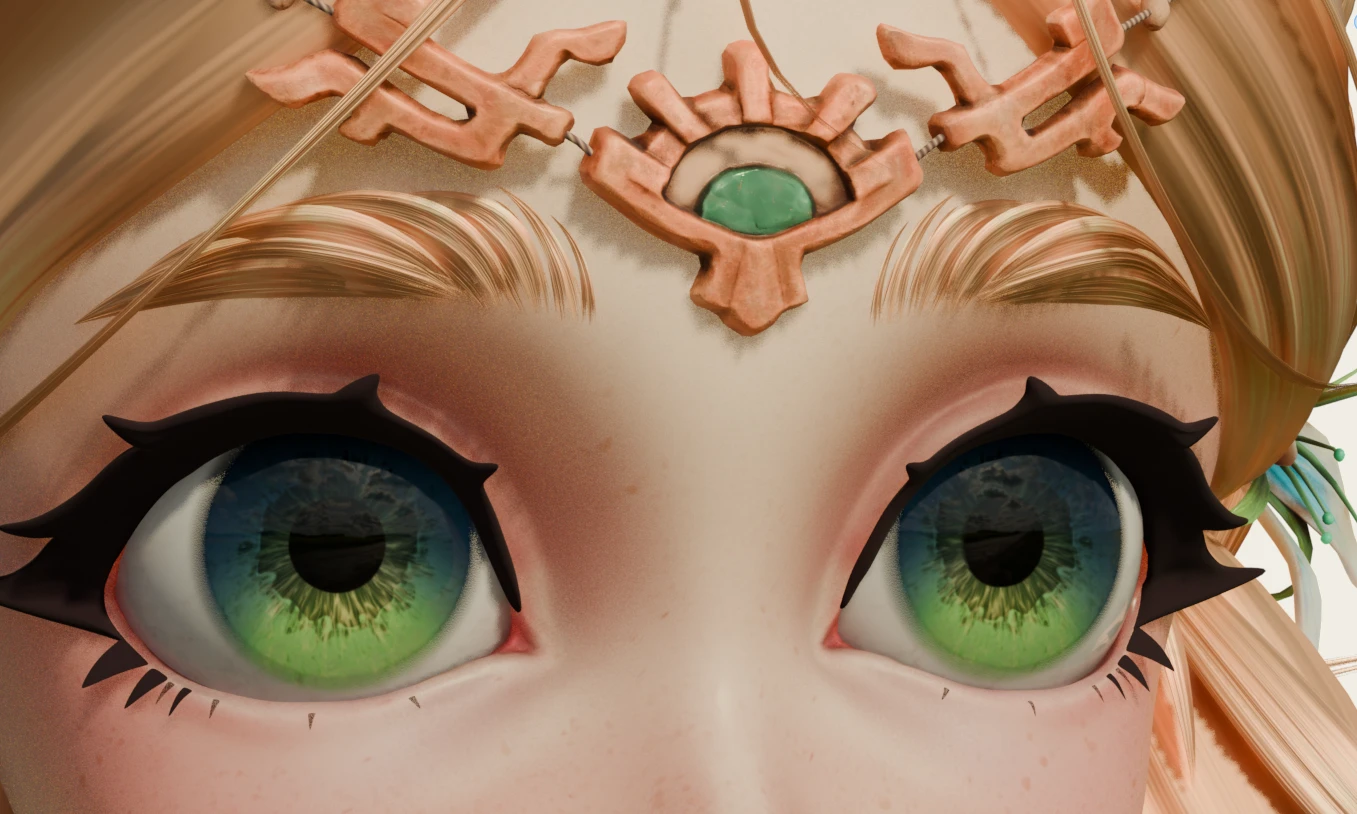
I added the fleshy surface in her eyes and also masked out where Subsurface Scattering should happen with the Thickness map I baked previously, as well as painting a few more spots in by hand. Additionally I painted in a few lighter areas where her skin is thinner to add extra detail. At last I added a highlights-layer with a little less roughness to put extra emphasis on her nose,
cheekbones and lips.
As I divided Zelda into different texture sets to have more detail in her face, I repeated the same process on the remaining texture sets on her body.
>>Workflow<<
I never made a character of this level of detail before, so I really wanted to do it right.
I first started with sketching her existing outfits and then experimenting with putting different parts together and changing them up a little.
I ended up taking parts of her Zonai robe, her royal outfit, her winter coat and parts of Queen Sonia's outfit too.


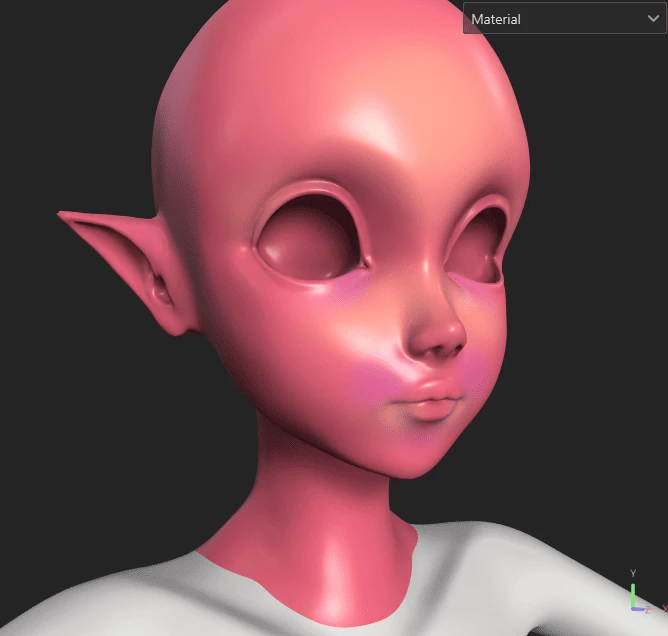
Sculpting<<
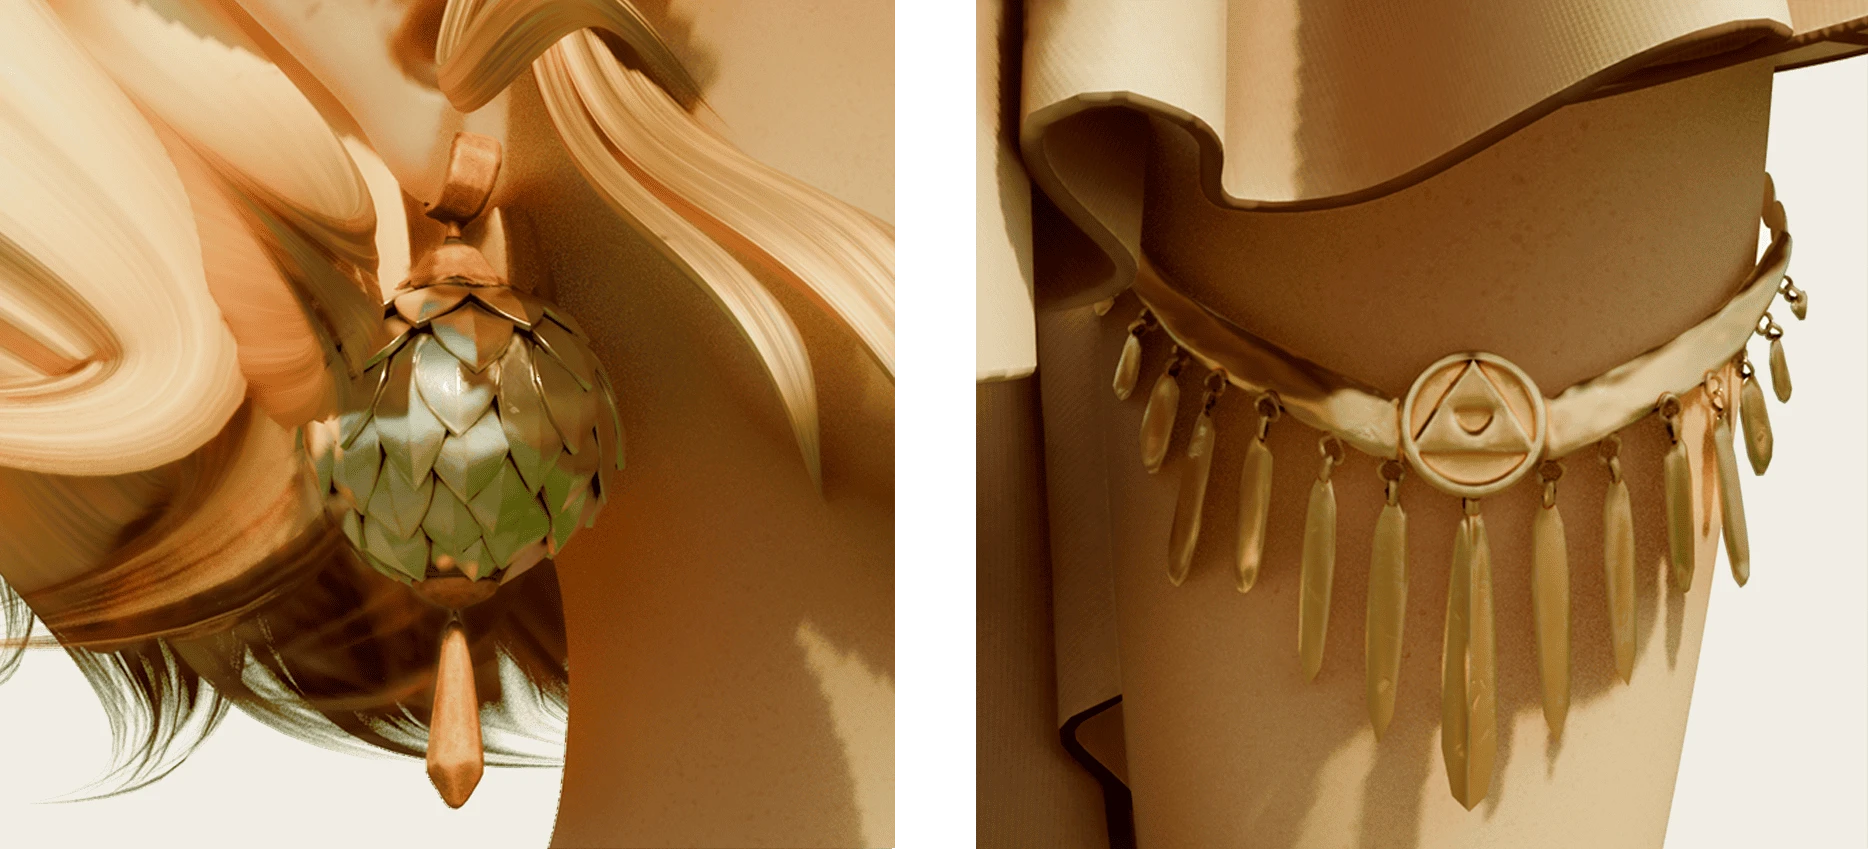
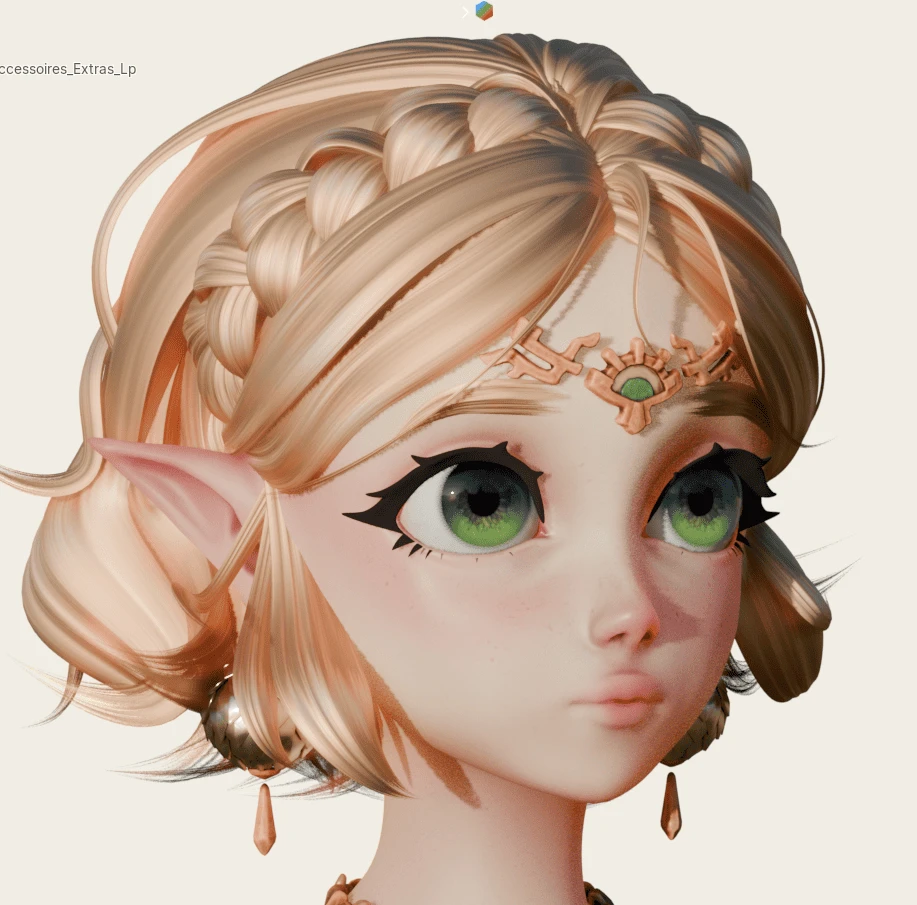
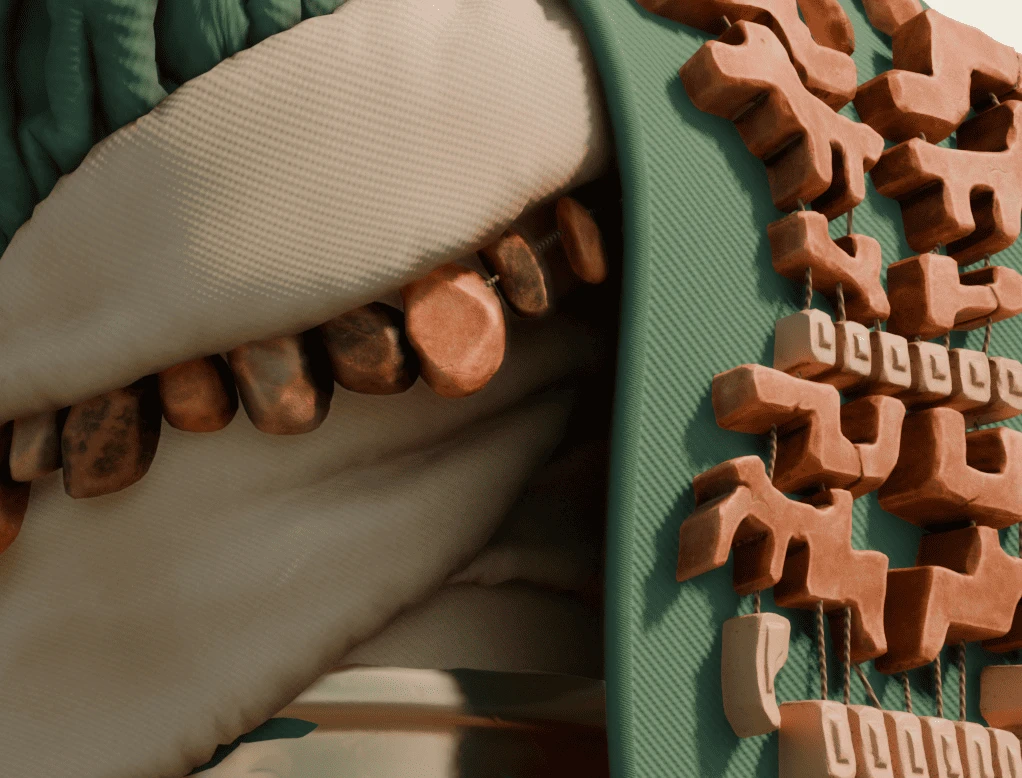
I sculpted Zelda and her accessoires in ZBrush. I wanted to keep her face round and soft to convey her tranquility. For the accessoires I wanted them to look really old and antique, fitting the time of the Zonai Zelda finds herself in during the story of Tears of the Kingdom.
Therefore I sculpted cracks and fractured the stones.
Texturing<<
When it came to texturing her face, I relied on the drawing and painting knowledge I had. Since I've never textured a human before, I just treated her like a painting.
I began with an underpainting. I created a layer with what's underneath her skin: blood. I laid down a red layer and painted in the different color zones of a human face. We have more blue-ish undertones below our eyes, around the mouth and on our temples. The forehead and mids of our face tend to be more yellow-ish.


I tried to stick to the semi-realistic style when it came to texturing the accessoires. I scratched the metal, carved the pattern into her secret stone and put emphasis on the rough surface and cracks of the stone accessoires. A few things were painted in by hand, for example the pattern on the silent princess flower and of course the secret stone.


>>Hair and Eyes
I used two amazing assets by the skilled creator Tinynocky for this step. I used his free Tiny Eye addon to customize the perfect eyes for Zelda, as well as his shader node tree for the hair shader. Thanks to him for those amazing creations!
I simply modeled the lashes in Blender and created the hair with curves and a wavy diamond-like shape.
Here I also kept the concept of big, medium and small in mind when creatig the hair strands. Making one big main strand, supporting it with a smaller secondary one and breaking up the shape with the smallest tertiary one. I wanted her hair to look put-together, but also natural.
I put everything in place so that different parts would interact correctly with each other.
The belt would go above the dress, flower behind her ear and the shoes on her feet.
I also connected all the stones with each other by threading cord through every piece.
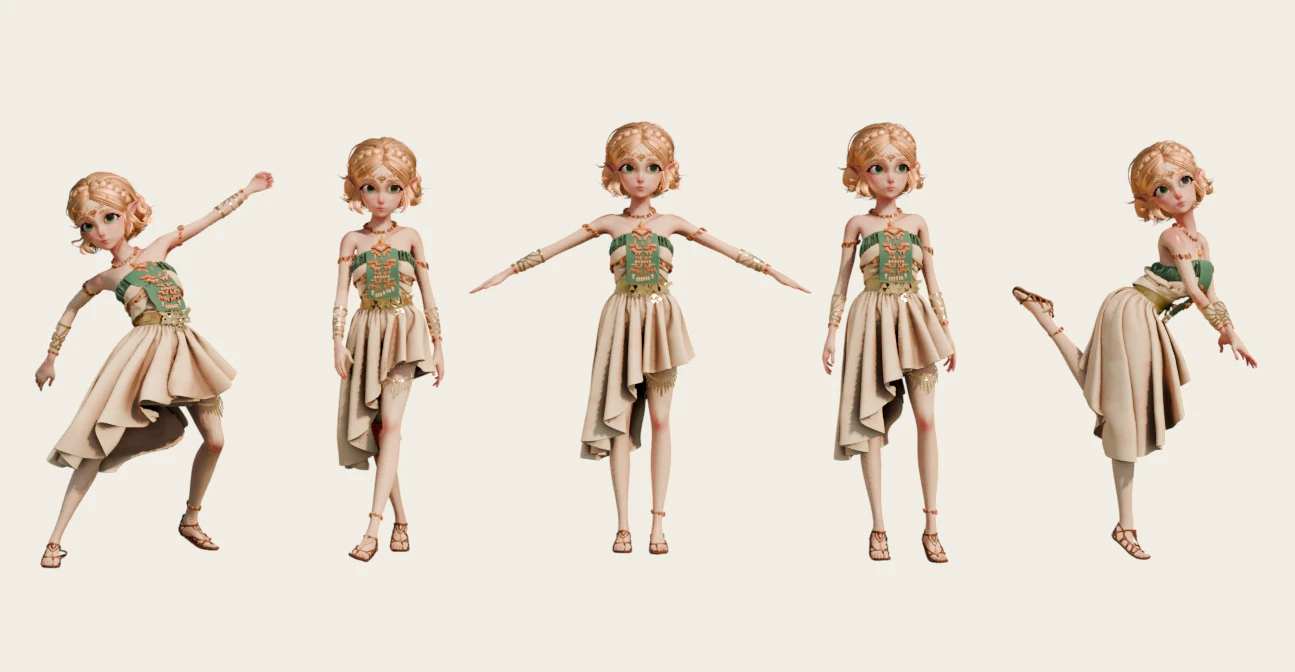
>>Rigging, Posing and Rendering
Zelda should be an animatable and posable character. Therefore she needed a rig. I used Mixamo to do the heavy lifting, but needed to do a lot of cleanup regarding the weight painting in Blender. In the end it worked out, so I posed her, lighted the scene and rendered everything.
Making the Dress<<
When it came to creating Zelda's dress, I really wanted to use Marvelous Designer. Not only because the software calculates every fold and plead physically accurate, taking every characteristic of the fabric into concideration, but also because I wanted to learn the software more.
I played around with the fabric and after a lot of trial and error, I eventually ended up with a pattern I liked. I love the fact that I could just take the sewing pattern and recreate the dress in real-life. I definitely tweaked it a little in Blender later, but I really got what I needed here in Marvelous pretty fast.


Putting everything together<<
I finalized Zelda using Blender.


Software used:


This 3D fanart is based on the character Zelda from The Legend of Zelda: Tears of the Kingdom, a game by Nintendo.
Zelda and The Legend of Zelda are trademarks of Nintendo.
This is a non-commercial fan project and is not affiliated with or endorsed by Nintendo.
©Nintendo


Volvinia © All rights reserved | Impressum